Showing posts with label UFOs. Show all posts

Thursday, October 20, 2011

So much for making a plan

Yeah....well.... sometimes we follows the plan....and sometimes we don't.

Didn't get to the Shady Lanes sashing fabric that I wanted to cut out.  Didn't make crumb blocks.  Didn't make string blocks.  I got distracted...  I started out to make crumb-along blocks, but about the time I pulled the 30th skinny strip out of the jumble that is the crumb pile, I lost patience with the whole mess and sat down to sort the entire bin.


I pulled out all the skinny little strips, and put them in a separate container.  These are the ones I'm joining and subcutting for my next crumb project as leaders n' enders.  I've already built up quite a pile of 1.5" wide subcuts.


I threw out a few handfuls of bits that are really too small to be bothered even trying to sew.  And this is what is left in the crumb bin.  I can actually see the sides of the bin, and the bottom.  Not to worry, as I trim those scraps from the big scrap bin, this thing is sure to fill up in no time.


And as I sorted, I found quite a pile of partially formed crumb blocks that I lost track of in earlier crumb piecing sessions.  They ended up at the bottom of the jumble - probably from fluffing the mass in search of colours and specific sizes.


And by the time I was done with all that, it occurred to me that if I wanted to watch the World Series game 2 tonight, that maybe I should attach the binding on my next UFO quilt so I could have some hand stitching to do.  I have two quilts still waiting for binding.  One is huge and I want to make bias striped binding for it, so I chose a smaller Christmas colours lap quilt.  It's been sitting in the waiting for binding pile for a couple of years.  I wasn't sure about this binding until I had it attached.  There's no black in my quilt top.  But now, I'm really liking how the gold lines curl around the quilt edge.  Just as well, since I have no intention of unsewing it now that it's attached.


No plan for tomorrow.  I think I'll just wing it - wait to see what I feel like doing.  No plan and nothing gets done... too many gotta-do lists in a row and it starts feeling like household chores.  There's got to be a happy medium in there somewhere.


Monday, October 17, 2011

Finished at last - five year old swap blocks

Another finish to report.


This is a group of blocks I swapped with online quilters five years ago...  I'm over blushing about how old my UFOs are and just celebrate the finishes when they happen.  I put the last stitches into the binding around 1:00 am this morning and will be sleeping under this quilt when I finally get around to going to bed. Hooray! The colours on this quilt make me happy and lift my spirits - though the quilt seems better suited for spring or summer rather than fall/winter decor. It brightened up my bedroom like a sunny day and that was good enough for me. The pattern we chose for our swap was taken from the book Nine Patch Reunion by Terry Atkinson.  It seemed a good choice for the different skill levels of the participating swappers.

I flipped the quilt up to show you a pic of the backing.  My green plaid wasn't quite long enough so I sliced through the fabric and added in a row of 8.5" orphan star blocks.


I started making 8.5" sawtooth stars some years ago and like my box full of scrappy four patches, didn't notice how many I had made until I got into the triple digits.  I don't know why, but I can hyper-focus on the details of a task to the point that I don't notice the bigger picture.  In the case of the star blocks, it started innocently enough as an exercise in perfecting my seam allowance and getting perfect crisp star points.  I resolved to make stars until I felt proficient and got in the habit of making them.  That habit landed me with a stack of star blocks for which I had no specific plan.  I finished a quilt for my mother using up some of the stars, blogged about in early September.  Here's the pic again.  I named this one My Mom's Garden Sparkles.


I still have a stack of red and blue stars in my orphan block box.  I think I've mentioned before that I seem to go about things the long-way around.  While others pick a pattern and sew components for it, I seem to be quite happy sewing components and then finding a way to use them up at a later date.

Thursday, September 29, 2011

2-4-16 Patches - Pattern Chosen

I went back to my original pattern choice to use up some of the 2, 4 and 16 patches I've been making as leaders n' enders - Sunny Lanes.  I have a couple of patterns by that name ripped out of magazines, so I must like the look. There is a free pattern at Quilt Blocks Galore.  I've linked directly to the pattern page here.  The patches I'm using are completely and randomly scrappy, built from 2" strips / scraps given to me by numerous quilters.  I pulled out some of my brights (yellows and oranges) but thought it was a little too bright and I didn't have enough yardage of the yellow I would have chosen.  So I decided to go with some brown and blue for the sashing corners.  Each block will be 12.5" unfinished, laid out like this pic (which will form blue stars and brown squares).


Or like this one (which will form brown stars and blue squares).


Now I just have to decide if I want the stars to be brown or blue.  I made enough sashing to complete four blocks and laid it out on the design wall so that the blues formed a square and the browns formed stars.


Then I switched it all around to see if I liked it better with blue stars and brown squares.


I had pretty much decided on brown stars until I looked at the pics.  Now I'm thinking blue stars.  This pattern is going to produce over three hundred new 2.5" Half Square Triangles because I'm a fan of double-sewing my sew n' flip corners to create bonus HSTs.  I've learned my lesson about tossing them into a bag or box for future trimming though, after finding the box with over 1,000 HSTs during my stash reorganization.  I originally blogged about those here.  (I'm still trimming those little suckers up in batches of 30 a day and may finally be done in another couple of weeks.)  As I make the sashing for my Sunny Lanes blocks, I will be trimming the bonus HSTs as I go.


I cut all the strips and squares today and will start drawing sewing lines on the remainder of the brown and blue squares while watching television.  A double bed sized quilt will only use half of the 4 and 16 patches in my stash, and I have a few more patterns I've found that I'm looking forward to making with the remainder.  After all the low-key brown and blue, I may go wild and bright in the next one.

Wednesday, September 21, 2011

Bindings 'n Backings

How do you spell binding?  In my home it's spelled C-A-T-N-I-P.


Normally, Lucas leaves me alone when I'm sewing.  Actually, the fat galoot is usually snoozing somewhere - if it's warm he's in a puddle of sunshine by the window - and if it's cold he's under the quilt on my bed (the big baby!).  But he loves days when I do bindings - either sewing them on or making them - in particular the ironing portion of the entertainment.  He won't be shoo-ed away either.


Moments after I took this pic he almost pulled me off my chair by launching his 25 lb mass onto the tail of the binding - I had made the mistake of wrapping it around my neck a few times in an effort to keep it out of his reach.

I decided today was the day to sew the bindings on two lap quilts.  I was under the impression that I had made the bindings for both quilts.  I had too - only I was obviously seriously math-challenged on the day I made them.  (A cautionary tale of why drinking wine and sewing don't go together.)

I don't pin my bindings on (pinning is for sissies, says I, with great bravado), I just sit down and sew.  Well about the time I was rounding the second quilt corner on the first quilt I began to notice that the binding was running out faster than the quilt.  This necessitated a search through stash for binding material.  I found a large scrap of the same material (actually I think it was cut off the backing for this same quilt) but no width of fabric.  I was obliged to cut many short strips, and piece them together.  Now I do pin strips when angle joining, and I viciously jabbed my lip with a pin so that I now look like I've been stung by a bee.  Pinning is not for the distracted, sez I, bravado forgotten.  I attached the new length to the binding partially sewn to my quilt - right side to wrong side.


That took a minute to unsew and resew the right way before I could finish attaching the binding.  Then I measured the second quilt against it's binding and discovered I was short by the same amount.  Stink!  I found more of that fabric (full width this time), cut two strips of fabric, joined it and sewed it on the quilt.  Here's what's left over of the bindings.


I obviously overshot the mark with the first binding, but I came within three inches of needing to cut more binding on the second one.  You know, I don't remember quilting being this fraught with frustrations.

Then I cut and pieced the fabrics for the backing for my black-sashed crumb quilt (the one I have to shimmy past as it has been hanging in the doorway of my bedroom as a reminder for days now).  Two widths of fabric wasn't quite enough for the length I needed so I shimmed it by adding in a row of the left-over crumb blocks in the middle.  The striped fabric is prettier than the solid colonial blue, so I sliced it in half lengthwise so I could have it at the top and bottom of the backing.


I wrestled this new backing over the ironing board twice to get all the wrinkles out and the seams pressed.  Then carefully folded it so I could hang it on a hanger with the quilt top.  It's now waiting to go to the long arm quilter.

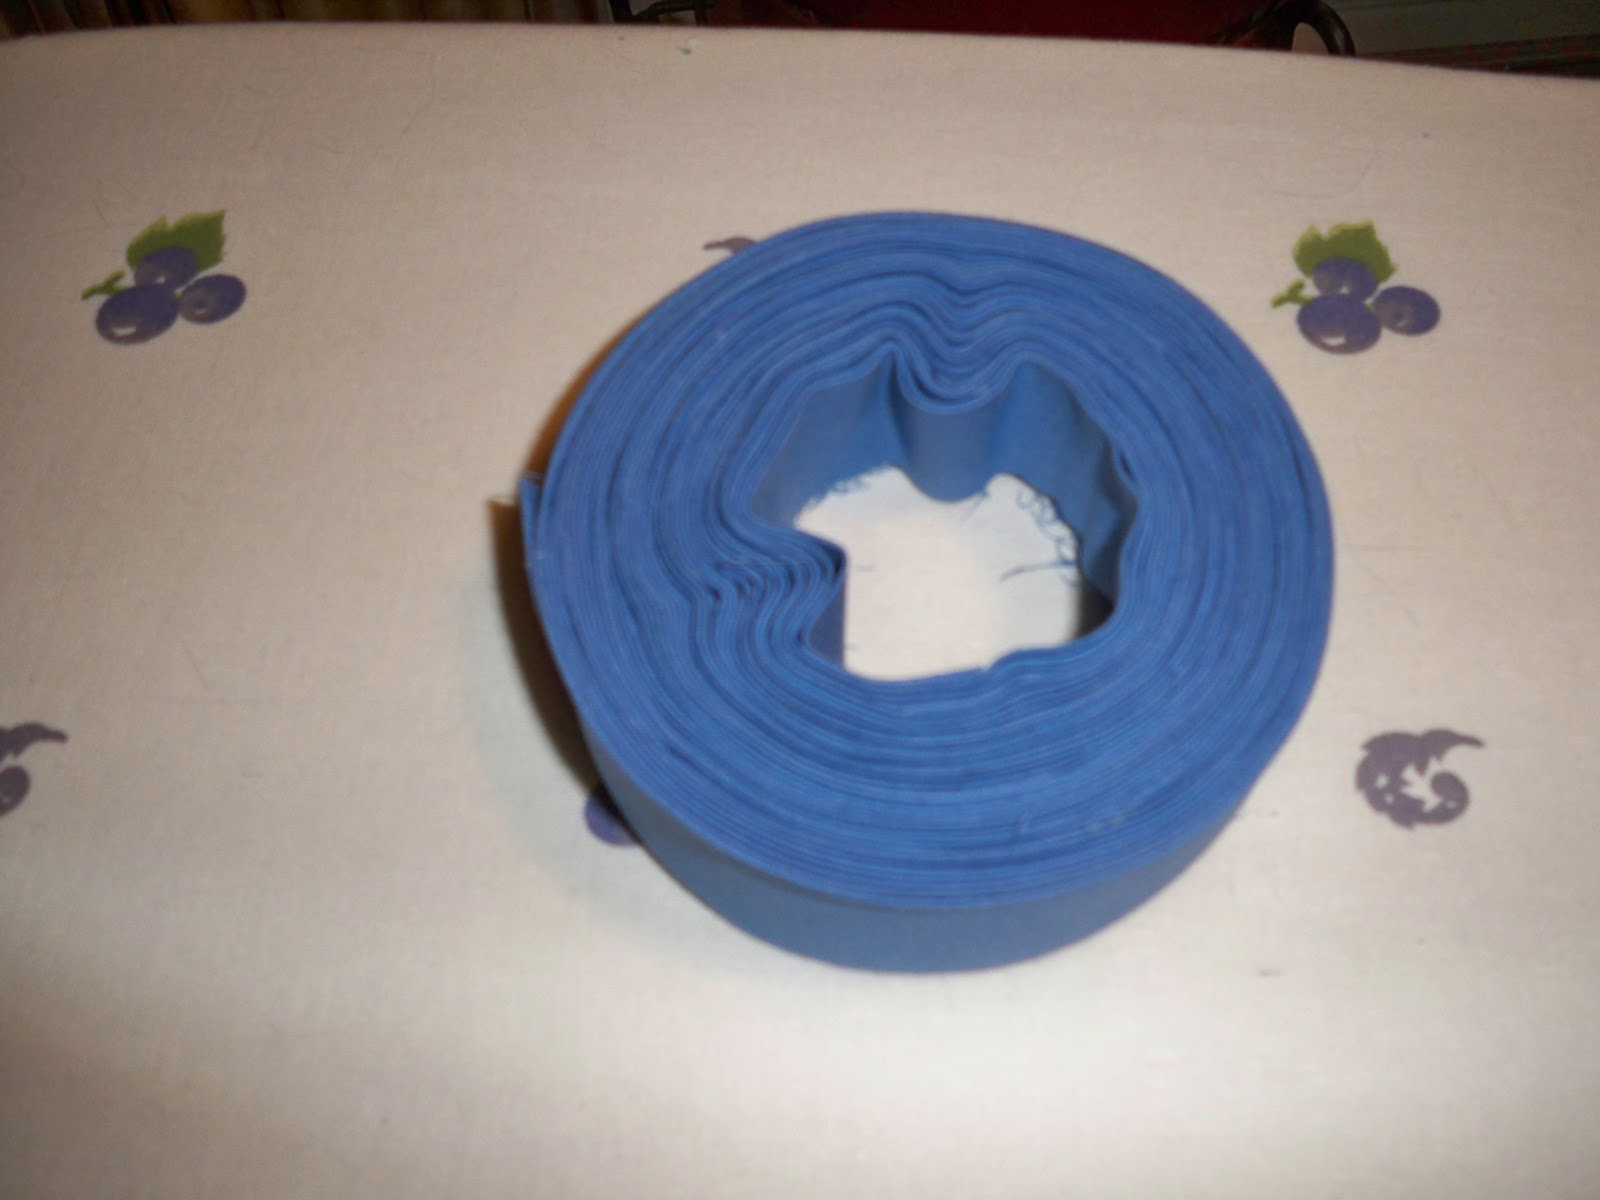
And then I made the binding, much to Lucas' delight.  This time I double checked my math and added two additional strips for good measure.  Here it is all pieced and ironed.  I roll it around whatever I can find (a mason jar works well), then slide it off, pin the end and put it in my stash.


Make the binding when you make the quilt top or the backing, a more experienced quilter once told me.  Fantastic little tidbit of advice.  Otherwise I might use the fabric in something else.

Numerous small boo-boos aside, this was a productive bit of sewing.  I have some murder mysteries recorded on the PVR, so will start hand stitching the binding on a quilt tonight while watching the television.

Thursday, September 8, 2011

Mini Travel Sewing Kit

I'm packing for a five-day trip to the family homestead and taking along two bed-size quilts to hand bind - did I mention we are expecting our hottest weather of the summer this weekend?!   I've never been known for my timing!  Hopefully I can get my sewing done in the evenings when it cools off otherwise I'll be sweltering as I bind.

I'll be taking the bus up to Red Deer and catching a ride with relatives from there so I'm trying to pack light.  I've made up a little sewing kit to take with me.  I'm using a hard-shell case for eye-glasses, $1 at the dollar store.  This one is especially nice as it snaps closed and has a thumb glide release to open it.  This reduces the chance of it getting jostled and opening in my bag.  I've got a couple of these cases (different colours) in my sewing basket.  They're handy for grouping the smaller items and keeping them from falling to the bottom.


For this trip, I've tucked in some thread, needles, thimble, seam ripper, embroidery scissors, needle threader, and my little emery filled strawberry (just because it looks cute in there).


I've already warned them I will not help butcher chickens, hang wallpaper, or paint anything! But... in the spirit of congenial good-sport relative I will do dishes and wash windows if they feed me and supply the cold beer.

I'll be getting back in time for the official start of the Crumb Along which starts on Tuesday.  I've tidied up the apartment so my cat sitter won't cluck her tonque at my mess... I'd much rather have spent some time sorting and petting crumbs.  I'm itching to start something new.  I'm hoping that getting away for a few days will save me from this growing compulsion and that the crumb piecing on Tuesday will satisfy that itch.

Wednesday, September 7, 2011

What was lost.... is found (and 2 finishes)

I knew I was missing some stuff.  I knew it as surely as a mother knows one of her kids is awol.  And as my stash reorganization came to it's satisfying conclusion, I knew these missing items were lost forever.  Perhaps thrown out in the garbage by accident.

Maybe I grabbed up one of my stash boxes when I was pulling together my last donation for our local Women in Need Charity.  If so, I wonder what they thought of it when they got it.

The small list of missing items:
a Bonnie Hunter book (the first shirt tail one);
a cone of thread (easily replaceable);
prepared quilt bindings for some gift quilts waiting for label and binding.

Oh!  Did I forget to count quilts waiting for labels and binding in my UFO numbers?  I don't know how that could happen....  <long silence, crickets chirping>  (sheepish grin...biting lower lip...)  Alright, already, so my suspiciously short UFO list is ten short!  There!  I've confessed.

Anyway - back to what I was writing about..... I was most upset about the bindings - I could replace the thread and Bonnie's book (although I think I got an autographed one).  But the bindings were for gift quilts and used the last of certain fabrics.  Not only would I have to find a sufficiently sized replacement fabric, but I was going to have to sew binding lengths together and then iron them. (whine n' snivel).

An impromptu invitation to the family ranch this weekend made me think I should get two of those quilts bound, and so with a deep sigh of resignation, I went to the stash of quilts and pulled them out.  And what did I find?  Tad-dah!


I was over the moon!  And the red and pink paisley fat quarter was a bonus (it is soooo pretty!).  The package of hand quilting needles were a complete surprise.  I don't remember buying them.  But, best of all was finding the bindings.  So I have no excuse now about getting those bindings sewn on.  I may have to finish the hand sewing at the ranch, but they will be done and in the hands of loved ones.

The first one is for my mom.  Pink, yellow and green stars, with alternating blocks of a floral that has those three colours.  I call it Stars In My Garden.  My mother has a beautiful flower garden and these are colours she will love.  It's double bed size.


The second one, Sunflowers In My Garden, is a Buggy Barn pattern.


I challenged myself to find a pattern to use up some brown fat quarters.  At the time, I hated brown and whenever I bought a FQ bundle I would pull the browns out and put them aside.  When the stack of browns became a tower, I knew I had to do something with them.  I found this buggy barn pattern and thought it would solve my problem.


Each quilt square is made up of 64 patches of brown - an 8 by 8 square that went together super quick because I strip-pieced the browns, subcut the strips, then mixed and matched.  And each of the corner stones is a 4 by 4 patch square of browns.


A funny thing happened as I made this quilt.  I discovered I loved brown - as long as I don't have to wear them that is.  My stash of fabrics now includes all sorts of lovely browns - from dark chocolate to milky lattes.  My new sister-in-law loves sunflowers.  She has been collecting some pottery with a sunflower design.  I thought the pattern would be a perfect compliment for her ranch house decor.

Tuesday, September 6, 2011

Agonizing over the 9-patch Mess

Before I could proceed with cutting the long sashings I found myself discussing the whole sorry mess with a pal - who pointed out that it would take relatively little time with a seam ripper to go back a step or two.  I would only have to unsew 70 short seams... not 130.  And wouldn't I feel better about the quilt top if I did?

Aaaarrrrrggggghhhhhh!

So now I'm in a quandry, see-sawing between my perfectionist tendancies and my dislike for seam ripping.  While I make up my mind, I've moved on to cutting and sewing on the borders of my crumb quilt.

And making the binding.  And pulling the fabrics to make the backing.

Sunday, September 4, 2011

UFO Box - Oh the excuses!!!!

As I unpacked and sorted, I began asking myself why I had neglected these projects, because I still like most of them - still love some of the fabrics.  I found my answers (excuses) revealing.  (I do that.  I talk to myself.  I question myself.  I answer myself.  Usually out loud - it's called eccentricity not insanity!)

The first three are table runners.  All the piecing is done, there is a backing cut to size and even bindings in each bag.  Why are they in the UFO bin?  Honestly?  I'm still shy about quilting my own stuff (whether by machine or by hand) if it's intended as a gift for someone.  I'm just not that good at quilting and I so want these items to be perfect!  As a result, the intended recipients never received the gifts.  Rather sad, isn't it?  I have been plagued by insecurity and perfectionism my whole life - it's a very hard thought pattern to break.


This Christmas table runner ... I didn't join the final block because I wasn't sure of the dining table length of the intended recipient.... then I thought I should make the last block into a matching hot pad and use Insul-bright (the heat resistent batting for oven mitts) in it but I didn't have any... then Christmas was over and next Christmas seemed so far away....  the excuses keep coming don't they?


The next 3 aren't so near being finished, but far enough along that they would be quick finishes.  A Hallowe'en wall hanging embroidered centre... didn't get done in time for Hallowe'en and got put away... was it three years ago?  Really?


The under-the-sea wall hanging done in brights was a year-long pizza-box exchange in my sewing circle.  Why do these activities always end in December when life is crazy and cluttered?  I just tucked it away, intending to pull it out when life got back to normal...  the blocks my quilty friends made for me are so gorgeous!  This deserves to get finished.


Teddy Bear blocks (24" x 24")... four of them... I made these when I was very new to piecing and quilting.  They were originally intended to be the centre of a much larger and far more ambitious project, involving applique... which I had not yet even tried to do.  I stopped working on them when I ran out of the neutral fabric I was using in all the blocks.  Yeah, I know, but it's that old perfectionist thing again.  They would make an excellent lap size quilt and I long ago stopped caring about exchanging one fabric for another.  I've also thought of using each Bear Block as a backing for a baby quilt.

Cute isn't he?  The free pattern is at Quilt Blocks Galore.  24" Teddy Bear Block  There are a lot of pieces but the pattern is so wonderfully crafted and the instructions so clear, that it goes together really quickly.

Crazy quilt cushions, in colours that match my second hand living room furniture.  I even started playing around with embroidering one of the three squares.  Hmmmm.  Not feeling the love here....  to be honest, I think they will end up being pieced into a quilt backing.


This next one is just plain embarrassing.  My Orange Crush Quilt - a six part mystery designed by Bonnie Hunter at Quiltville 

I took it to a weekend-long quilt retreat and finished assembling the blocks, then the top but had forgotten to bring the fabric for the first border. I even finished the optional pieced border (see the next pic). Then brought it home and never touched it again. There is just no excuse for this one.  I've probably used the border fabric by now, but I don't care - I must have something else.
 

I've made a couple of Bonnie's mystery quilts and had a great time.  The project pattern and instructions are still available. The Orange Crush Introduction is here.


Another batch of sliced up disappearing 9-patches - different size than the ones I blogged about previously.  This bag full is from a series of block swaps with my quilting friends.  I got halted in my tracks by seeing an alternate layout and then felt torn about which block layout I wanted to do.  There's no rule that says you can't make another one and lay out the blocks differently!  Honnestly!


Star Struck pattern blocks, another Quiltville pattern available here.  It's an attractive pattern and a good source of bonus HSTs!


My joined blocks are big enough to make a table topper. As I recall, it got put aside when I realized that I had pieced an entire segment of blocks with the star spinning in the opposite direction.  Oh no! Say it ain't so!  This insignificant fact actually stopped me in my tracks as I tried to figure out where I had gone wrong and debated the value of unsewing the blocks.   May I suggest that if such a disaster should ever befall you, that you just pin a note to the wrongly pieced segment of blocks identifying them as a good matching pillow or something to be pieced into the backing and keep on going. Sometimes I just have to shake my head at what perfectionism can do to a person.


So, that's it, and it all fits nicely in one plastic drawer.  Added to the 10 UFOs previously identified in prior blog postings, that brings my total to ........ (using toes and fingers)....... not including the four quilt tops waiting to go the long-arm quilter......20.

But wait!  That couldn't possibly have filled a double banker's box!  That's because half the box is kits, and a blog topic for another day.

Saturday, September 3, 2011

UFO Box - 2006 BOM: Vintage Stitches


I've only uploaded pics of 3 of my12 blocks.

Because Connie left a comment about liking the colours of the UFO at the top of the box, I was encouraged to pull the blocks out and think about it for awhile.  I found a pic on a blog of a completed 2006 Vintage Stitches quilt here.

I chose to hand embroider over the black lines in the centres of my blocks (I didn't like the dashed black lines of the faux embroidery panel). It took three strands of real embroidery floss to completely cover those lines. Others chose to use fabric paint or crayons, colouring their blocks as you can see in the one at the pic link. Still others in the club at the LQS I attended, chose to use a completely different centre because they didn't like the faux embroidery fabric either.

I have 12 completed blocks - 16.5" in size that are waiting to be lovingly finished and while I don't have the finishing kit from the 2006 Thimbleberries fabric line, I do have quite a bit of suitably dark complimentary fabric I can use between the blocks and as a border.

Note to self:  It doesn't have to be finished in the exact manner (or fabrics) as shown in the pattern.

The UFO Box


It's huge! one of those double banker's boxes.  It's dusty!  It weighs a ton!  And I've left it to the very last because I'm afraid to open it.  I'm nearly done purging the patterns and magazines.  I've cleared out three shelves on my book case, which means the overflow from the fabric cabinet can sit on the shelves.


I even found a bag of half yard cuts of purples in a box of patterns and magazines.  My stash doesn't have many purples, still... I can't help wishing they were oranges, yellows, reds or neutrals.  I never have enough of those somehow.


My friend Chantal dropped by for coffee (and to feed treats to my fat cat).  She's working on organizing her own overflow of arts n' craft supplies (she paints, beads, and sews).  She thought I could put these nesting boxes to good use.  They're certainly more attractive than my usual cardboard!  They're too small for my ongoing WIPs.  Maybe thread or sewing notions.... hmmmm.


Well... I've dilly-dallied long enough.  It's time to review and priortize the unfinished projects and get rid of the last box.  Peeling off the lid....


Yeah.  It's full.  Ya know?  I think I need another cup of coffee.......... I haven't vaccuumed in a couple of days and when you have a cat, you really can't let it go that long..... and maybe my kitchen floor needs a really good scrub.....